
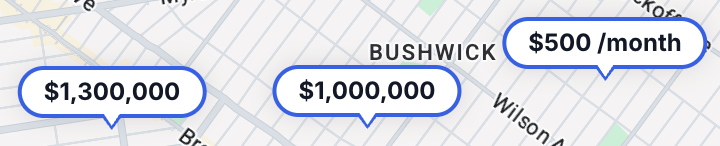
A Google Map ID is a unique identifier that represents a single instance of a Google Map. MyHome uses it to enable Google's AdvancedMarkerElement, which powers the modern marker UI on your property maps. Without a Map ID, advanced markers will not display correctly.
This guide assumes you already have a Google Cloud project with billing enabled and the Maps JavaScript API active, and that your Google Maps API key is already added in MyHome. If not, set that up first, then return here.
Step 1: Open Map Management in Google Cloud
Go to the Google Cloud Console and make sure the correct project is selected in the top bar (the same project your Maps API key belongs to).
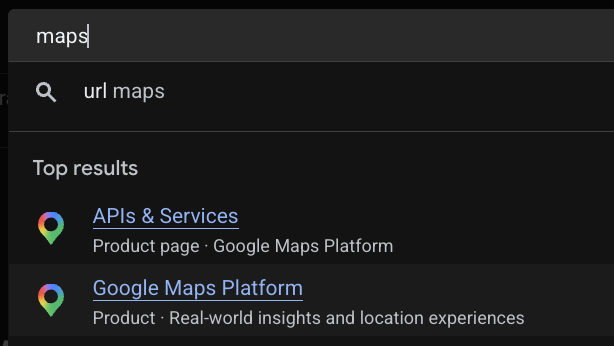
In the search bar at the top, type maps and open Google Maps Platform.
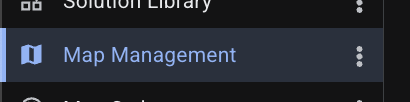
In the left sidebar, click Map Management.
Step 2: Create a new Map ID
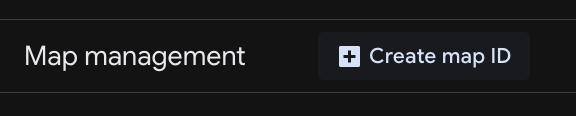
On the Map Management screen, click Create map ID at the top.
Step 3: Fill in the details
In the Create new map ID form:
- Name: Enter any name that helps you recognize it, for example
MyHome Map. - Description: Optional. Leave it blank or add a short note.
- Map type: Select JavaScript.
After selecting JavaScript, two rendering options appear below the dropdown:
- Select Vector. This is required, as Google's advanced markers only work with vector maps. Leave Raster unselected.
- Leave the Tilt and Rotation checkboxes unchecked.
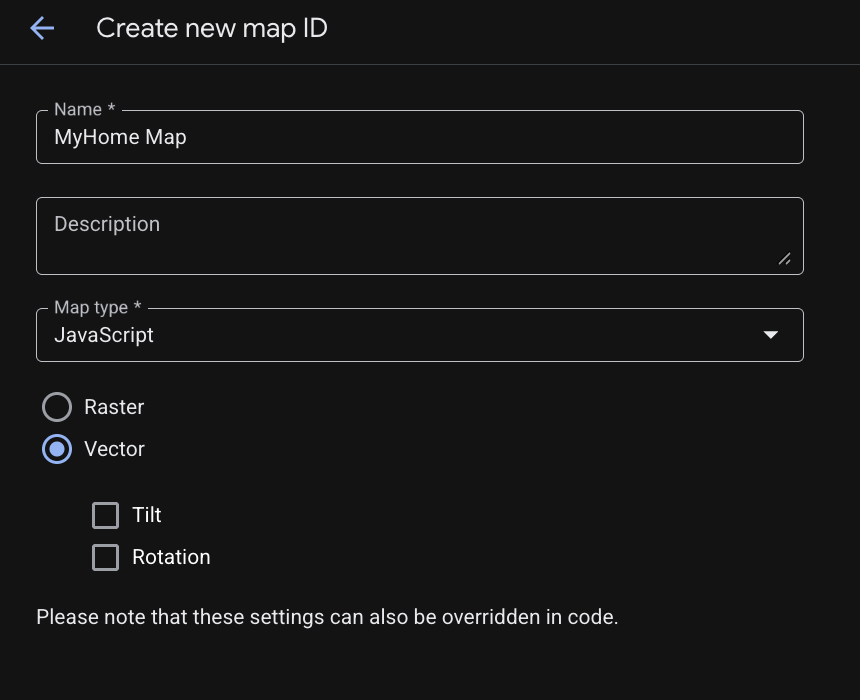
Then click Save.
Step 4: Copy the Map ID
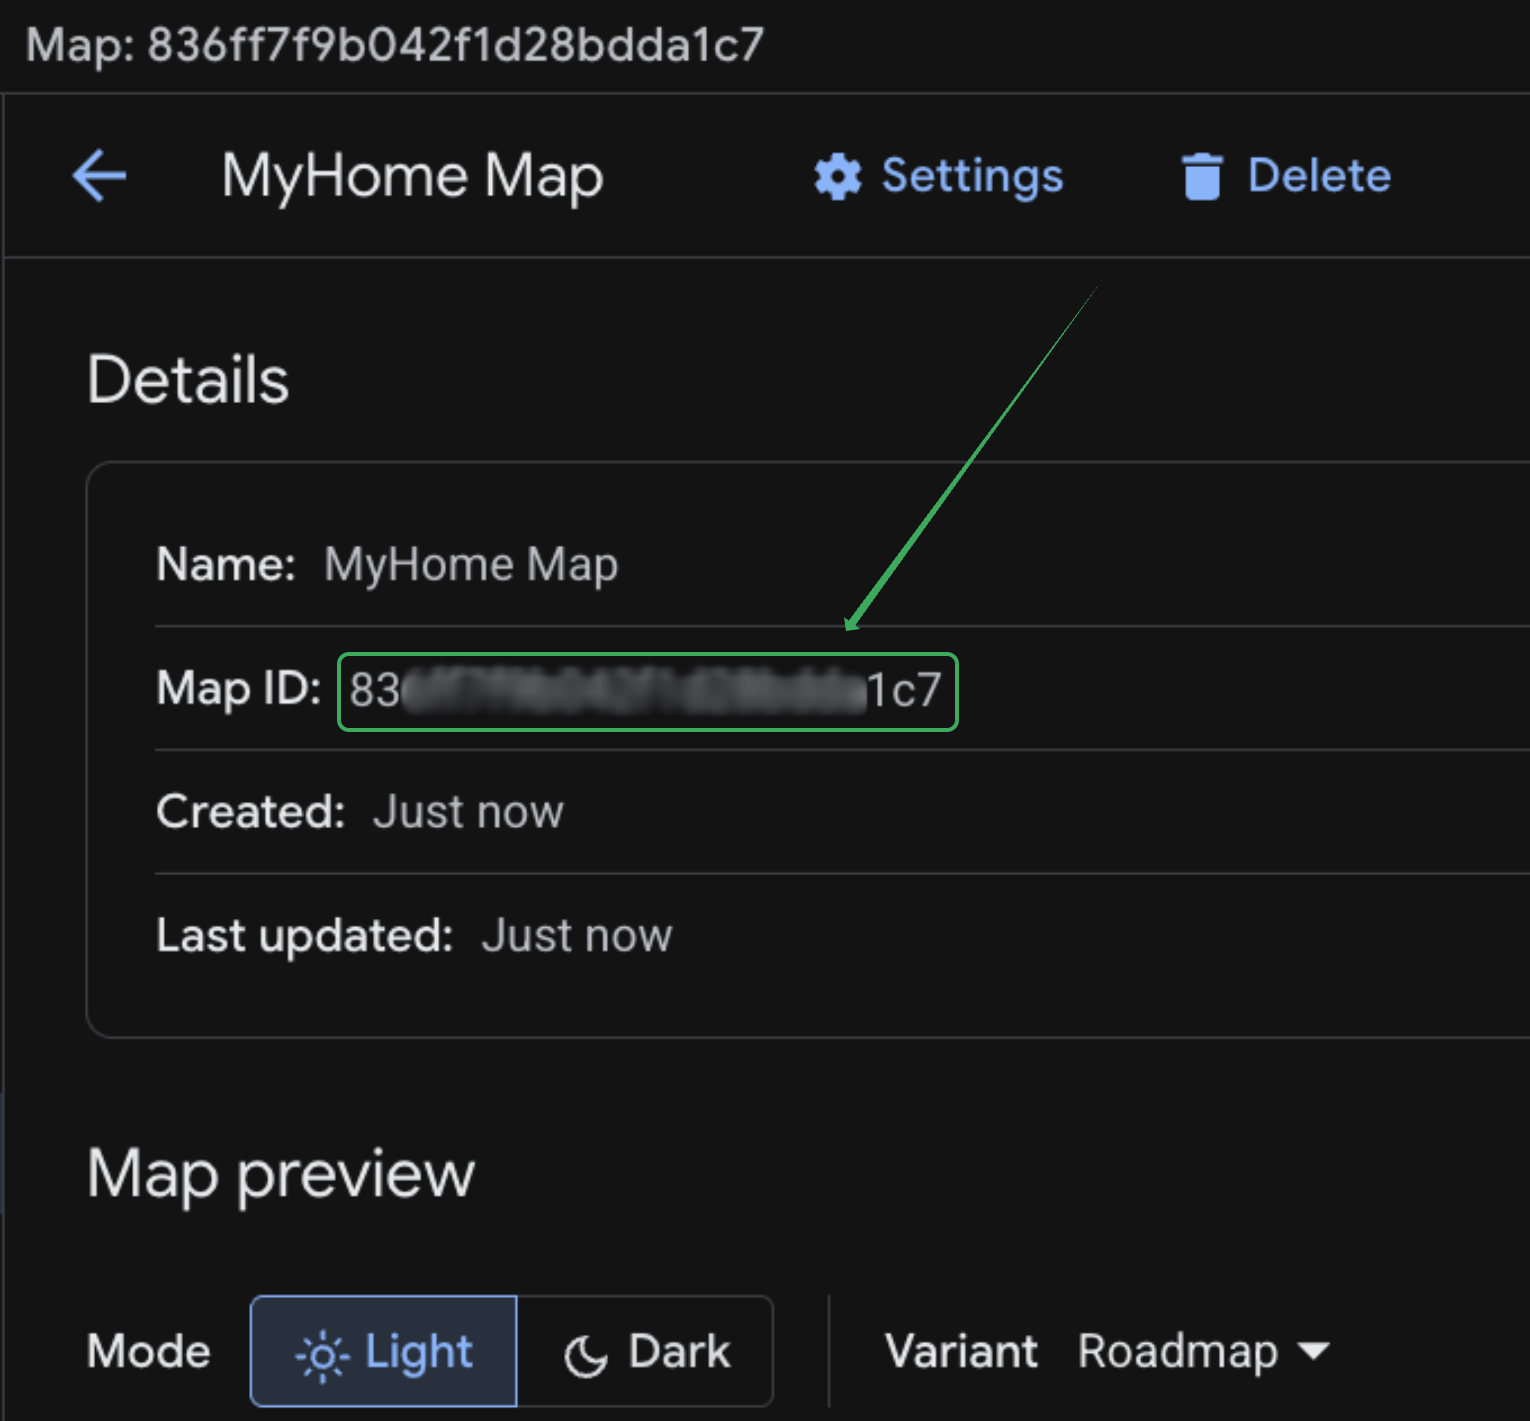
After saving, you are taken to the details screen for your new map. Here you will see:
- Name: MyHome Map
- Map ID: a long string of letters and numbers
- Created and Last updated timestamps, plus a map preview below
Copy the value next to Map ID.
Step 5: Paste the Map ID into MyHome
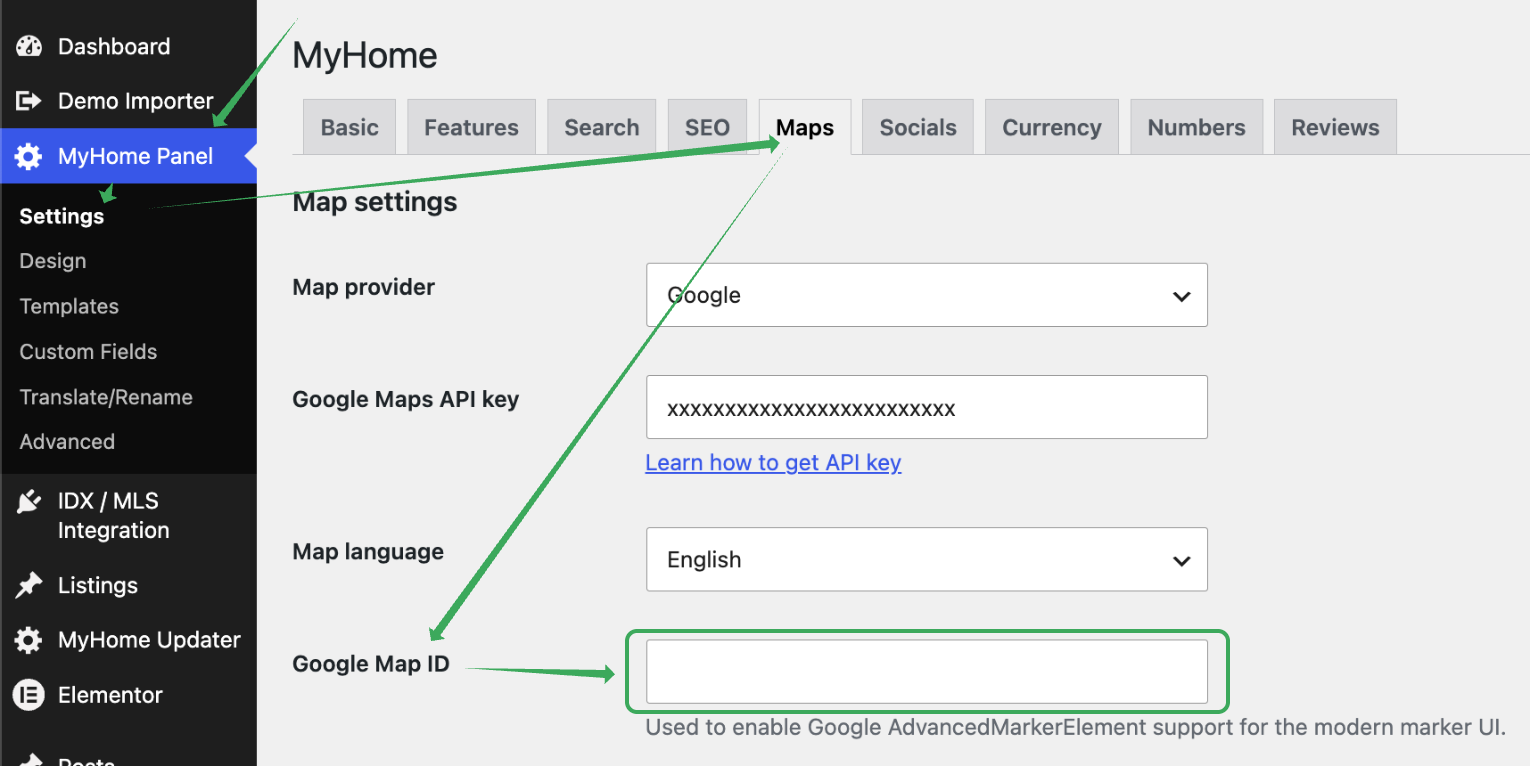
In your WordPress dashboard, go to MyHome Panel > Settings > Maps.
Scroll to the Google Map ID field and paste the value you copied. Save your settings.
That's it. MyHome will now use the Map ID to render maps with Google's modern advanced markers.